Jan 15, 2012

So here's where it's at


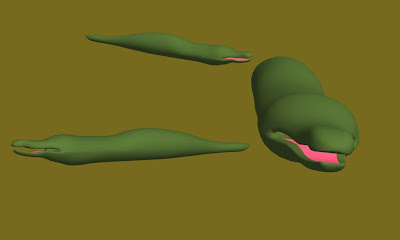
So here is the stage of modelling that trumped me in the past, and just about did again this weekend, until I figured it out. The stage where you designate your texturing borders, and export them for 2d imaging. Well really it's 2 parts, but I never properly accomplished part 1 before and I have now. Essentially you are trying to unfold the 3d model into 2d parts that can then be painted in the stencil you see here.


A checker pattern is usually applied, as on above, to make sure that your texture resolution is consistent. As you can see, the arms appear as long rectangular checkers similar in size to the main body. That is ideal.

The reason this is necessary is because you actually have to size the body parts in the stencil, and you can actually end up making some body parts different resolutions if you don't keep the proportion. Any piece you see on the stencil can be completely resized and throw everything off. They have all been manually adjusted by me after the program did it's horrible guessing on generation.


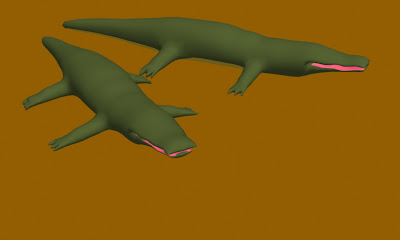
For those interested in how close I am to a viable output for this crocodile (and future animated models) I think I have broken it down as a work flow:

1 - 3d Modelling - done
2 - Texture mapping - done
3 - 2d Texturing - Next
4 - Defining bones and "rigging" - wtf (ok I kinda know what it is)
5 - Animation sequences
6 - Importing using engine recognized methods


So physical work wise, once you have 1 and 2, you've done most of the actual time consuming work. The rest comes to knowing the engine and how to import to it, which I imagine will be a huge pain but not necessarily a long time once I've done it once.

Animation may be a day or two, but I find it a rather fun and fluid process... everything's already made, and is not being altered, you just move parts around and try to do it in a life like fashion. I look forward to it.
Jan 6, 2012

The early Shaughn gets the Croc

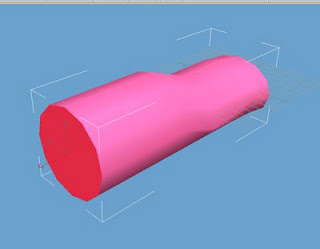
Well sometimes it pays to be one of my four readers. For reasons unknown, my fatso model is now a corrupt file and will have to be started from scratch. But since I have a request for a crocodile, I thought now that I have no project, why not try that first. I took a gamble and decided to apply my cube modelling technique to a cylinder, in the thought that it would better suit the initial shape. Modelling this way is basically manipulation from a rough shape; the closer that shape is the less adjustment you have to do later, so it made sense).

From a humble, shapeless beginning. . .


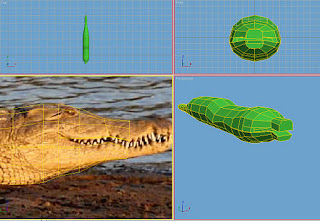
... I soon gained confidence that I made the right choice, and had the skill to manipulate the extra vertices on a 12 sided cylinder...


... I wasn't going to do the head at first, as obviously it will take more skill and need to be split into two halves (as I'm assuming Shaughn wants this crocodile to attack by biting as opposed to nose spearing the player). But I gained a little comfort with the concept of "cutting" polygon faces in half, and was able to make a distinct mouth extend from the flat cylinder end that was his neck:


So there you have it, using only shaping with no texture at all, it does actually somewhat resemble a quadruple-amputee crocodile. The real detail comes in the texturing, as that's where the bumpiness, texture and colour realism comes from. And to be honest, I think I will have less trouble animating than texturing as I've stated. Particularly since I have no 2d software knowledge at all. I think I'll try GIMP as it seems to be the way to go.

My Next update will certainly include some legs if nothing else.

Update: seems like either 3ds or my computer is borked because I lost my crocodile work in the same fashion. Colour me pissy. I redid it all.

Jan 1, 2012

Big Fat Update


Turns out that foot was destined to become a fatso after all.


There's unlimited potential to create other biped's once you have a model done, and it looks like fatso is about at the 2/3 torso mark, so I'll keep this updated.